
Many jewelry retailers struggle with the same tension: pack the window with inventory and it reads as cluttered; strip it down and it feels empty. Get the balance right, and the window becomes a conversion tool, not just decoration.
This guide covers focal-point design, creative seasonal concepts, lighting and materials, security without sacrificing appeal, and how to keep displays consistent across multiple store locations.
Key Takeaways
- Build every window around one theme, one focal point, and one customer action
- Use contrast, negative space, and varied heights so jewelry, not props, stays the star
- Choose fixtures that support secure handling and fast, easy product swaps
- Treat seasonal refreshes and maintenance as ongoing strategy, not a one-time install
Build the Foundation Before Choosing a Jewelry Window Display Idea
Before you touch a single prop, decide what the window is for. Are you launching a new collection? Pushing gift-season traffic? Reinforcing a luxury position against a competitor two doors down? That objective should shape every visual decision that follows.
Set Your Objective and Hero Piece
Pick one hero product or collection and build the hierarchy around it:
- Place one dominant focal point where the eye lands first
- Add two or three supporting pieces that relate to the hero without competing
- Leave negative space so the composition can breathe
A window with a bust wearing a statement necklace, flanked by matching earrings on a low riser, works better than six items scattered at equal weight.
Match Style to Brand, Then Control Contrast
Minimalist luxury calls for monochrome backdrops and generous space. Heritage craftsmanship suits wood tones and softer lighting. Editorial fashion can handle bolder color and asymmetry. Whichever direction fits your brand, contrast does the heavy lifting for visibility — pairing a warm gold piece against a cool, muted backdrop makes it pop without adding a single extra prop.
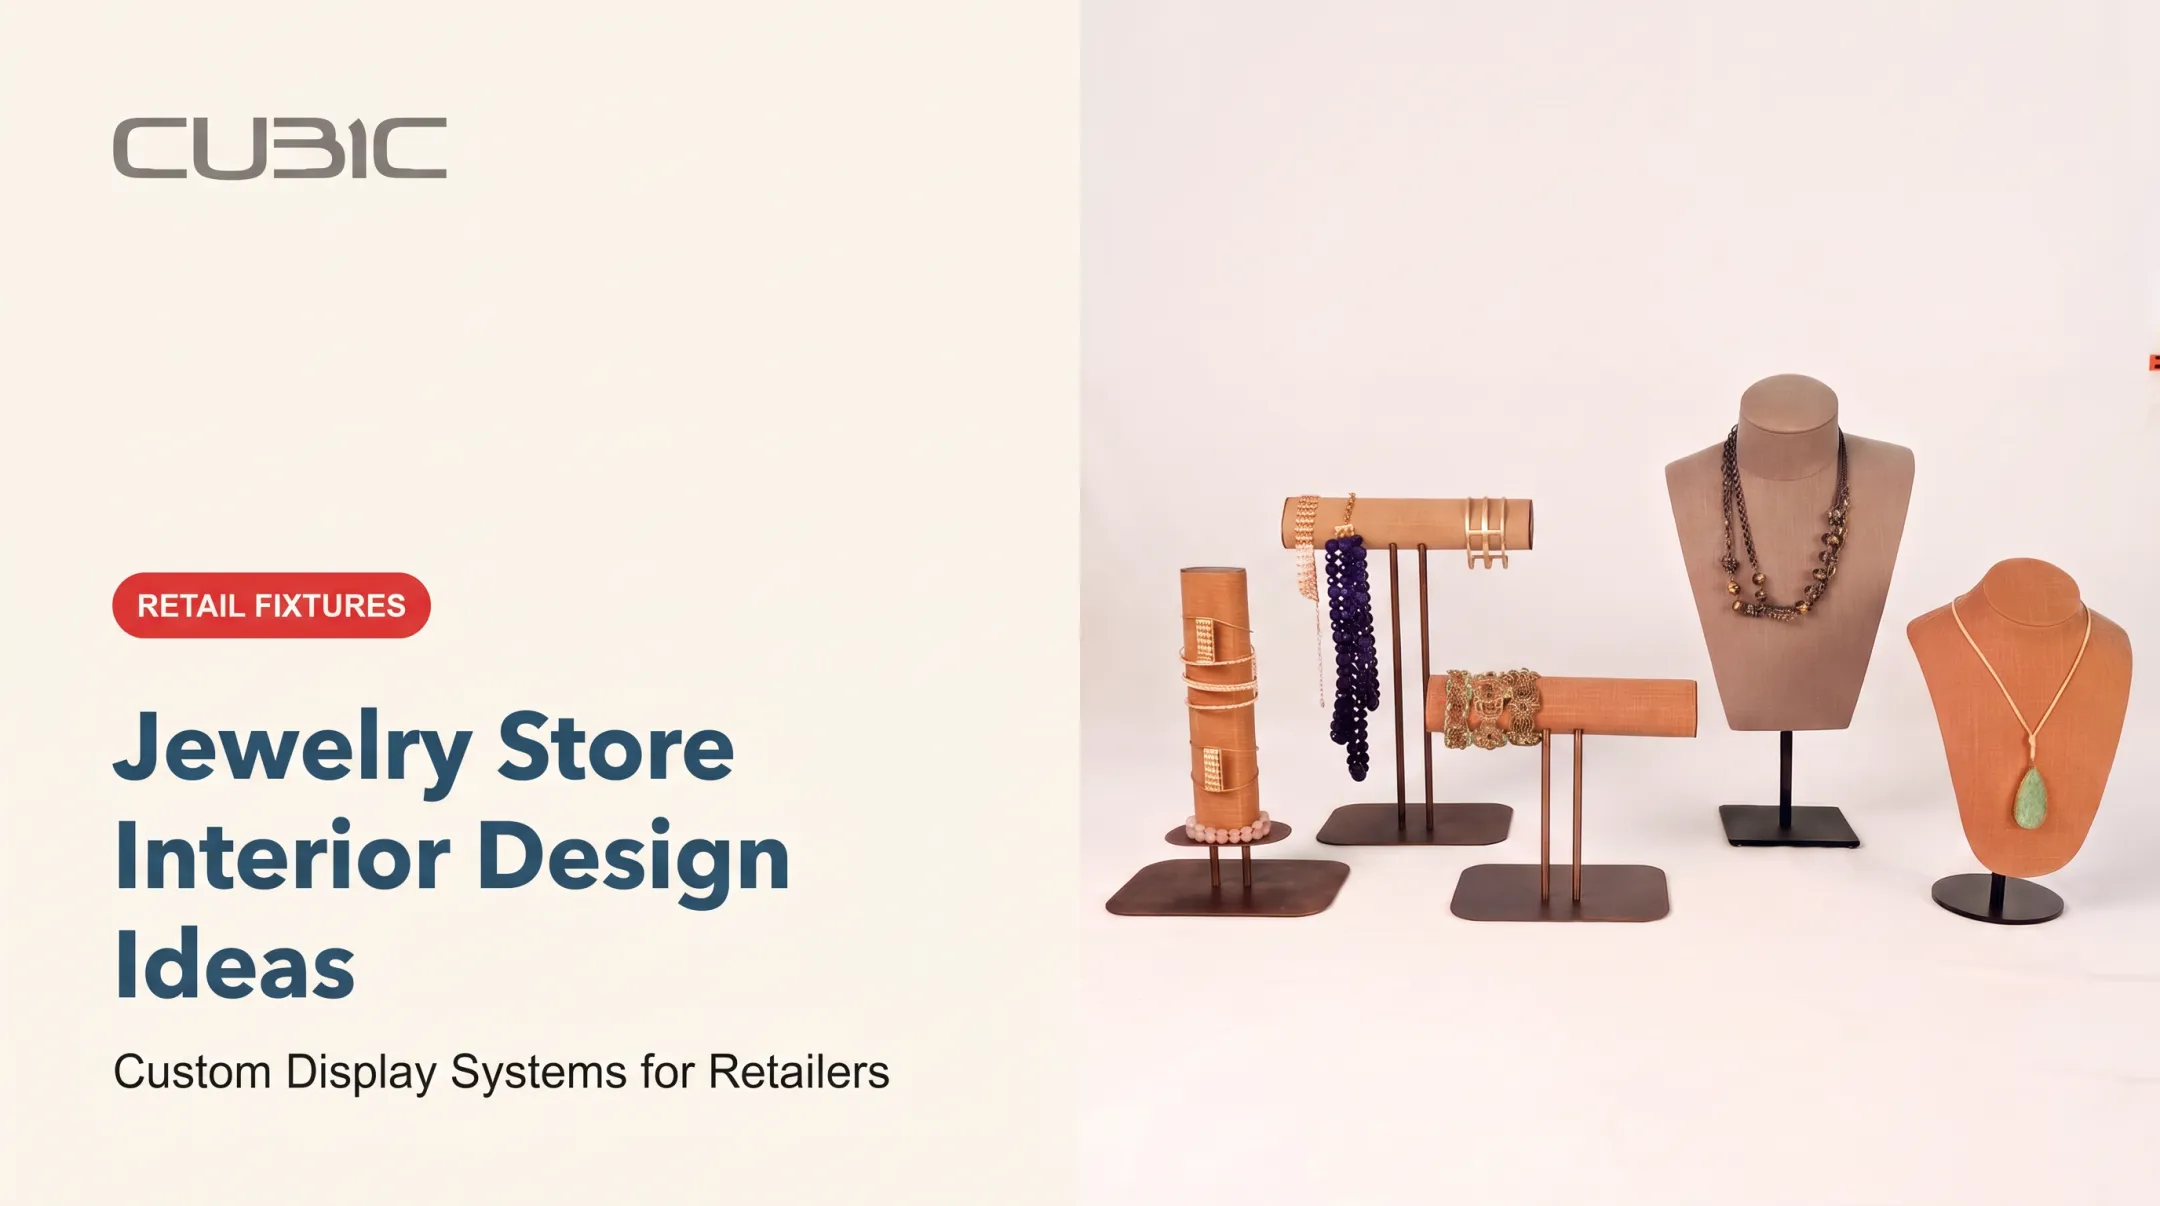
CUBIC's jewelry fixtures support that approach: necklace busts and cylindrical bracelet stands in neutral wood and dark metal finishes keep the jewelry—not the fixture—holding the eye.
Plan the Sightline
Walk across the street and look back at your own window. Check for:
- Viewing distance from the sidewalk or mall corridor
- Eye-level placement for average pedestrian height
- Daylight glare and nighttime visibility differences
- Signage or props blocking the merchandise itself
Creative Jewelry Window Display Ideas to Adapt for Different Collections
Once the foundation is set, choose a concept that fits your calendar and inventory. The best jewelry windows tell one restrained story instead of six loosely related ones.
Tell a Restrained Seasonal Story
Pick a single emotional theme (celebration, travel, craftsmanship, or gifting) and support it with one or two props, not a full scene. JCK's long-running guidance on Valentine's Day windows recommends featuring red and heart-shaped pieces, then accenting with lavender, purple, or green rather than drowning the display in red.
The same logic applies to Mother's Day, graduation, or holiday windows: one color story, a handful of pieces, done.
Build a Tiered Jewelry Gallery
Risers, plinths, and hanging elements at varied heights let you showcase rings, earrings, bracelets, and necklaces in one composition while still guiding the eye through it. CUBIC's Point fixture system uses tiered horizontal tables with vertical posts and circular platforms for exactly this kind of layered arrangement.

Feature One Hero Piece
Center a single statement ring, watch, or gemstone at the strongest sightline in the window, with two or three complementary pieces arranged as a supporting cast. This works particularly well for:
- New collection launches: one signature piece earns the spotlight
- High-ticket items: a hero watch or engagement ring benefits from isolation
- Limited runs: scarcity reads more clearly with less visual noise
Use Mirrors and Framed Openings for Depth
Reflective surfaces or framed box-style openings add depth and hint at a try-on moment without letting a full mannequin reflection take over the scene. Box frame fixtures add dimension to flat, open walls, which helps when the window backs onto a blank surface.
Make It Modular for Every Season
Design one flexible base concept, such as a tiered gallery or hero-piece setup, that shifts from Valentine's Day to Mother's Day to holiday gifting by changing graphics, textiles, and one or two props. Rebuilding the entire window every six weeks is expensive and unnecessary when the underlying fixtures are modular. CUBIC's adjustable uprights and interchangeable accessories can be reconfigured for one season and rearranged for the next without new hardware.
Use Lighting, Materials, and Digital Elements to Make Jewelry Stand Out
Lighting and materials decide whether a piece sparkles or sits flat under glass. Get this wrong and even a well-composed window falls short.
Light for Sparkle Without Damaging Gems
Use targeted, directional lighting on the hero piece and softer ambient lighting around it. A 2013 California retail-lighting guide notes that contrast between ambient and display lighting is what draws the eye. Jewelry often needs a higher contrast ratio than other merchandise to show sparkle properly.
Brighter isn't always better for the jewelry itself: GIA warns that prolonged light and heat exposure can fade or damage amethyst, kunzite, topaz, shell cameos, and pearls. Test lighting choices in the actual window, in daylight and at night, before committing.
CUBIC's Trax-EH system integrates warm-toned (3000K) built-in LEDs directly into tempered-glass or wood shelving, giving you controlled, low-heat lighting at the fixture level rather than relying only on overhead spots.

Choose Backdrops That Support the Story, Not Compete With It
The right surface frames the piece without stealing attention. Use this quick comparison when you pick a backdrop:
| Material | Best For | Watch-Out |
|---|---|---|
| Velvet | Contrast, warmth, texture | Shows dust and fingerprints fast |
| Wood | Heritage, craftsmanship feel | Limited reflectivity for sparkle |
| Acrylic | Lightweight, product-focused | Can look cold without warm lighting |
| Glass/mirror | Depth, multi-angle visibility | Prone to glare and smudging |
Add Digital Elements Sparingly
A QR code linking to a collection story, appointment page, or virtual styling guide can extend the window's reach — but the screen should never outshine the jewelry. Before launching one, test it from the actual sidewalk:
- Check for glare on the screen surface during daylight hours
- Confirm brightness is readable at night without washing out nearby lighting
- Verify the QR code scans easily from a normal walking distance, not just up close
Protect the Merchandise While Keeping the Display Inviting
Security and visual appeal work together when you plan for both from the start.
Balance Visibility and Security
Locked glass cases, discreet mounting, and tamper-resistant hardware let customers see pieces clearly without leaving them exposed. Keep quantities controlled and place the highest-value items where staff can monitor them from inside the store.
All glass in CUBIC's fixture systems is tempered safety glass, and products carrying the TÜV Rheinland GS mark have been independently tested against relevant safety standards.
Keep It Accessible
A secure window shouldn't feel like a vault. Clear signage and a simple staff handoff process ("ask for item #4") keep the experience premium rather than restrictive.
If a remodel changes your storefront layout, build physical access into the same plan. The 2010 ADA Standards require an accessible route from the sidewalk to the entrance and at least one compliant sales counter. Confirm both with a local contractor before you finalize the build.
Build a Maintenance Routine
An empty mount or a fingerprint-smudged case undercuts everything else you've built. Check regularly for:
- Fingerprints and dust on glass or acrylic surfaces
- Burned-out or flickering LED elements
- Sold pieces left in place, or empty mounts left visible
- Damaged props or curling signage
Quick replacement keeps the display looking finished, not neglected.
Make Jewelry Window Displays Easier to Refresh Across Locations
For multi-location retailers, consistency is the real challenge. One store's "seasonal update" shouldn't look like a completely different brand from another location's.
Build a Repeatable Display Kit
Document the standards any store team can follow without a designer on-site:
- Approved colors and materials
- Fixture dimensions and lighting specs
- Signage rules
- Photo examples of the finished look
A clear kit turns a creative concept into consistent execution across locations.
Use Modular Fixtures Across Store Sizes
Modular fixtures and interchangeable accessories let one base concept flex across different window sizes and jewelry categories without a full redesign each time. CUBIC's modular systems, including Suspend and Cube+, are built around this kind of interconnectivity. Accessories and hole fittings can be repositioned to match different window dimensions and product mixes.
CUBIC connects creative concepts directly with its manufacturing floors in Minnesota and China, so a design moves from rendering to a manufacturable fixture without a traditional agency-to-factory handoff. Store Rollout Program & Project Management support covers everything from a single flagship window to installations across hundreds of locations.

Rollout Checklist
- Confirm the campaign objective and target customer
- Approve the visual direction and hero piece
- Prototype one window before ordering multiples
- Test lighting and security in real conditions
- Document installation steps for store teams
- Photograph the final setup for the brand kit
- Schedule the next seasonal refresh
Measure What's Working
Track a mix of qualitative feedback and measurable behavior:
- Passersby who stop
- Entries following a window change
- QR scans and appointment requests
- Collection-specific inquiries
Avoid claiming the window alone drove a sales spike. Treat it as one input alongside staff performance and inventory timing.
Frequently Asked Questions
What is the best way to display jewelry for sale?
Build the window around one clear focal point with generous negative space, a contrasting backdrop, and targeted lighting. Keep the highest-value pieces secured, and group items by collection or occasion so shoppers can quickly understand the story.
What is the best jewelry display stand for an exhibition?
It depends on the setting: portable risers and trays work well for temporary booths, while necklace stands, earring trees, and lockable cases suit longer exhibitions. Choose based on product type, foot traffic, and how often you'll need to pack up and move.
What are some creative ideas for shop window displays?
Seasonal storytelling, tiered gallery layouts, hero-piece compositions, natural-material backdrops, and mirrors for added depth all adapt well to jewelry. Restrained interactive elements, like a single QR code, can extend the concept without overwhelming it.
What are the 7 types of window displays?
Common industry classifications include closed, open-back, semi-closed, corner, island, elevated, and interactive or digital displays. Terminology varies by source, so treat these as general categories rather than a fixed standard.